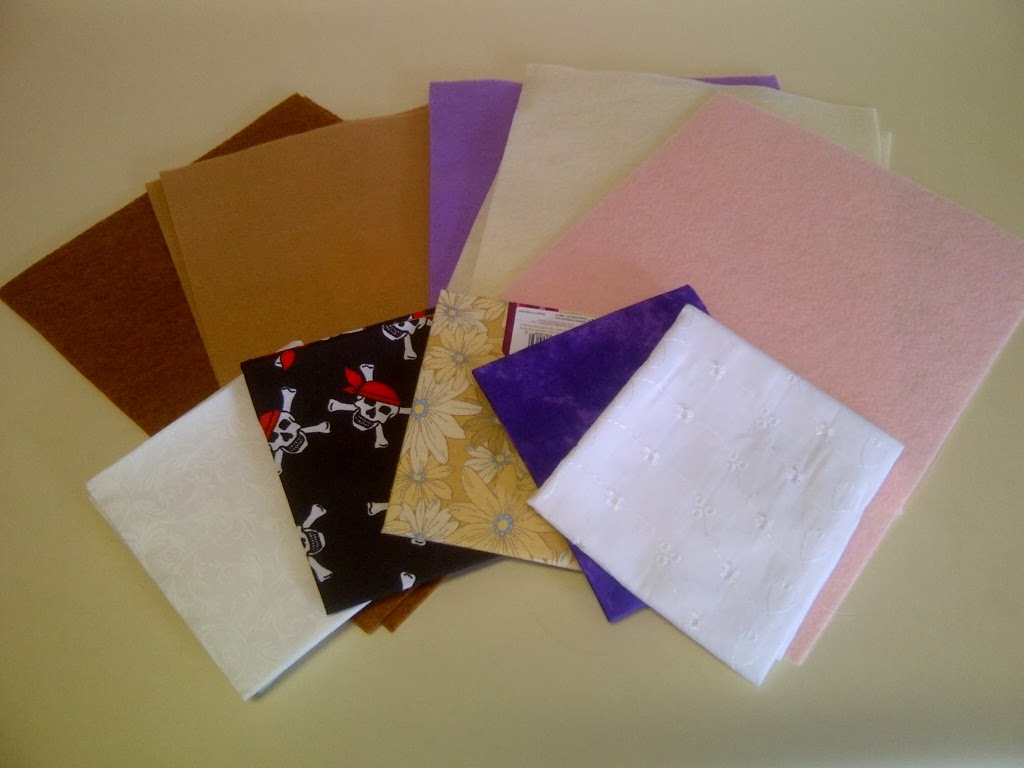
For this part you will need:
- Craftfoam
- Fabric of your choice for upper
- Glue
- Marker
- Scissors
- Straight pins (optional)
- Pencil
- Fabric of your choice for insole (optional)
- Paint brush (optional)
- Decoration of your choice and what ever you need to apply that decoration
We are actually going to do a little construction to start off with!
Step1: Trace your insole onto the craft foam.
Step 2: Cut out your insole!
I like to cover my insole with fabric. Partially because I bought only black craft foam, but mostly because I think it looks nicer. This is the reason we are starting with a touch of construction this time! I glue it on and it has to dry before we can construct the rest of our shoe. However this is entirely optional and if you don't want to cover your insole you can skip down to the fabric portion of this post now!
Step 3: Glue your fabric to your insole.
 |
| I'm using two layers because I only bought black craft foam. Next time I'll get white too! |
Step 4: Turn your insole over and trim the fabric around it.
Make sure you leave enough fabric to fold around your insole. You don't want too much though or the insole will be too bulky later on.
Step 5: Put a thin layer of glue on the bottom of your insole. Use pins to hold the margin of fabric to the bottom.
You should get something that looks like this:
I like to put a little extra glue around the edges of the fabric to help them stick a little better. Now set your insoles to the side to dry!
And let's talk about FABRIC!
Felt is thicker than cotton and so it's a bit stiffer and makes getting the shoes off and on easier. Plus it doesn't require any hemming! The stiffened felt works pretty well but because it is so stiff it's harder to make the toe of your shoe look smooth. Cotton does require hemming or something to make sure it doesn't fray. And because it is thinner you do have to double up on it, but we'll talk more about that in a minute.
No matter what material you choose cutting out your upper is the same!
Step 1: Trace your upper pattern on to your fabric.
Step 2: Cut out the middle of your upper.
For felt at least I find it easier to make both uppers at once so you'll notice up that I have two layers in the above picture.
Step 3: Cut around the outside of your upper.
Step 4: If you are using cotton OR if you want to put a lining on your shoe now is the time to do it!
I find that if I'm using cotten I need to have two layers to make the shoe stiff enough to slip on and off easily. So when I cut out my uppers I'm going to have four pieces instead of two.
I just use liquid stitch because I happened to have some but I'm sure that any clear drying fabric glue will do.
Put a little glue on one side of your upper and smear it around a bit then add the other side.
 |
| Now I have two uppers instead of the four pieces I had before. |
Step 5: Cut small notches all the way around the outside line of your upper.
You should get something that looks like this:
And finally we get to the really fun part! Decoration!
Here are a few things that I use. I have sequins, beads, various ribbon and embroidery floss. You can use anything you can think of to decorate your shoes but remember to keep it to scale. You're making a very small pair of doll shoes not human sized ones! For example I only use the very smallest sequins. Experiment! Be creative!
Here are a few examples of some things that I have done.
 |
| Ribbon and really bad embroidery |
 |
| yay beads! |
Now you may ask why are we decorating now? Because it's a lot easier to do it before we attach the upper to the soles. That's the whole reason. At least it is when you are sewing anything on or attaching ribbon. If you are just gluing something like pompom balls then it doesn't matter when you do it! Find what works for you!
We have reached the end of Part Two! Next time we are going to finish up our shoes yay! I'm going to try and get Part Three out by Friday night however there has been a bit of family medical drama this week. It seems to be over but if the next part is a bit late that is probably why. Everything is okay though. Thank you for your patience and I'll see you all next time!


Very cute! I like the pink!
ReplyDelete