I thought about how I was going to do this reveal and since I made a numbered list on my first post about her ( here ) I decided that I would just follow that list and tell you all about what I did! (click on the pictures to make them bigger)
1. I'm going to entirely remove her wig and do a full restoration on it
Molly's wig was one of her initial good points! Yes it was dry and a little frizzy but it wasn't matted and it was easy to brush through. But I did decide to go a head and do a full restoration on it. I took the wig off, washed it, downy dunked it (you can read all about that here ) put it back on and straightened it!
 |
| Before and After |
 |
| Before and After |
I did! I actually started by using a tide to go pen and that helped a little bit but it really didn't get her as clean as I wanted. I've never actually washed a body before now but it was pretty simple. Since I wanted to tighten her limbs anyway, I unstuffed her, took her limbs off and then I used a concentrated laundry stain remover gel all over her body. I let her body sit for a few minutes and then I put it in a pillow case, tied the pillow case shut and washed it with a load of laundry. I let it air dry over night and in the morning I found that probably 99% of the stains on her body were either gone are significantly faded!
 |
| Before and After |
I have an idea on how to fix her head, but honestly I didn't touch it. She has 23 year old grey eyes that are already prone to silver eye and I just don't want to risk it! Plus I've gotten used to her face! I don't mind it so much now. So I've decided I'm leaving it alone for the moment. Maybe someday I'll get brave and try my idea but not right now!
4. Replace misshapen leg/foot and tighten her other leg.
I ended up ordering a modern doll leg off of e-bay, so it is actually a little different in look and feel from her good original leg but it's not so different that it's obvious to anyone other than me! If I were restoring her to re-sell I would have waited for an old leg to show up but since she's just for me I don't care! If I ever do sell her this is something I would disclose though!
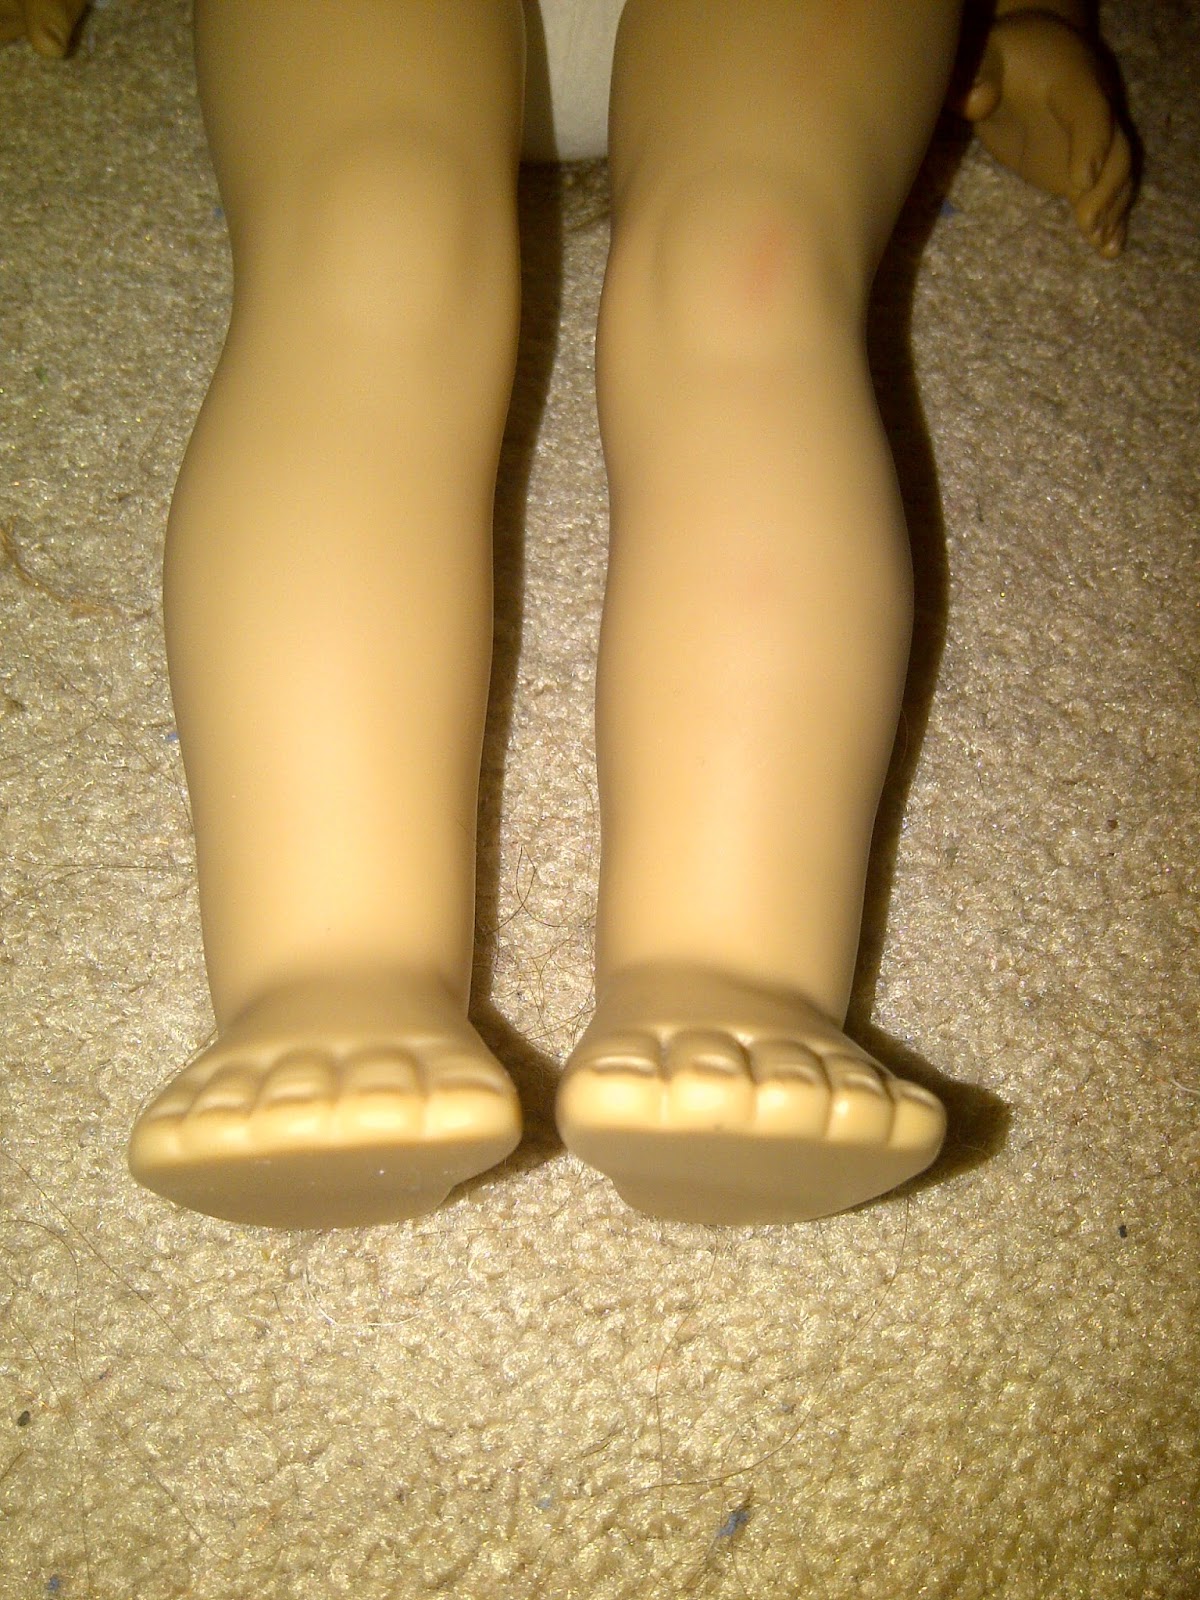 |
| Modern leg on the left old leg on the right! |
And of course all her limbs got tightened!
 |
| Before and After |
5. Possibly repaint her face.
Yeah this part was scary! I ended up getting way more paint than I needed but I only used these three and then textile medium.

The paint is FolkArt terra cotta, Americana terra coral, Ceramcoat fleshtone and and Anita's textile medium for anyone curious! The textile medium just smooths out the color on her lips.
It took me a good thirty minutes, several tries and lots of comparing to Kit's lip color to get something that I liked but finally I did!
 |
| I made a mess |
6. Remove all additional stains on her limbs.
I have not done this part yet. See I'm a little worried about what my usual methods would do to her vinyl so I kept her messed up leg to practice on. She still has a few red marks on her leg and arm but I'll let you know how it goes when I get around to cleaning it up!
And here she is!
 |
| Pretty pretty Molly! |
 | |
| Close up with her glasses on! |
 |
| Hey what's that over there? |

Last but not least a before and after!

She came out better than I ever hoped she would! The outfit she came in is in pretty rough shape so I still have to clean it up and replace the sweater but luckily I already had another dress for her! What do you guys think? How does she look?
She is lovely!
ReplyDeleteMom
I really like it! You did a great job!
ReplyDeleteShe is beautiful! Great job on the lips especially. I love how natural the color looks! That part is always nerve wracking to me. DD got a Chrissa on eBay that is our new fixer upper project. She had nail polish on her lips and when we removed the polish it also took off the original color. I'm already dreading the repainting part! She was only $12 plus shipping so I figure if we really make a mess we can afford to send her off to AG for a new head if it comes to that. ;) Molly's hair looks great too, and honestly I don't notice her face much. I know you didn't do anything to it so maybe it's just that she looks so much prettier all around so anything else isn't noticeable. I'm curious what your idea is for fixing it if you ever decide to try.
ReplyDeleteThank you! I'm pretty happy with her! Her lips were so scary! Luckily the paint I used just comes right off with a wet towel so if you mess up it's not a big deal. I mixed and tried paint on her for a long time before I was satisfied!
DeleteCongrats on the Chrissa! That's an awesome deal!
Someday I'll have to do a disturbing behind the scenes post. You can really see the flattened side of her head with her wig off. My idea is to soften her head and then kind of suspend it with the flattened side down and put marbles in it. I have no idea if it will work! The reason I don't want to try it is that you have to use boiling water to soften the head enough and I'm worried about exposing her eyes to that much heat!
Good luck with your Chrissa!
Awesome job!!! The repainting you did on her lips and cheeks really brings her to life! The difference is amazing! Very pretty!
ReplyDeleteThank you! I think Molly was the hardest restoration I've done so far! She is without a doubt a prized member of my collection!
DeleteI was just thinking, but if you hadn't thought of it yet, you might be able to make Molly's head go back to normal by pouring hot water in. For a lot of plastic things, I found that they seem to remember their original shape, and if you use hot water, you can often get them to come back to normal. You might be able to use it for her odd leg too if you still have that around. One of my dolls came with an accessory that got chewed up, and I put it in hot water, and most of the teeth mark disappeared
ReplyDeleteIt's a good suggestion! Thank you! I am thinking about it, however I'm worried what the heat will do to her eyes. I'm really lucky in that she has not even a trace of silver eye! So I guess I'm just working up the courage to try LOL!
DeleteShe looks amazing! Props to you for all of that haha! :)
ReplyDeleteThank you :)
DeleteThank you so much! Your blog is amazing! I have been searching for easy ways to repaint a dolls face. My Lanie came from eBay. Her face was super dirty, so I used a magic eraser to get it off. It also took off the face paint. Whoops. I will try and work up the courage to repaint her! ;)
ReplyDeleteThank you! Then nice thing is that if you mess up you can just wipe it back off. I've had some luck with lip stains too for a more subtle look!
Delete